Homeschooling in a Tiny Home: Practical Tips for Making Learning Work
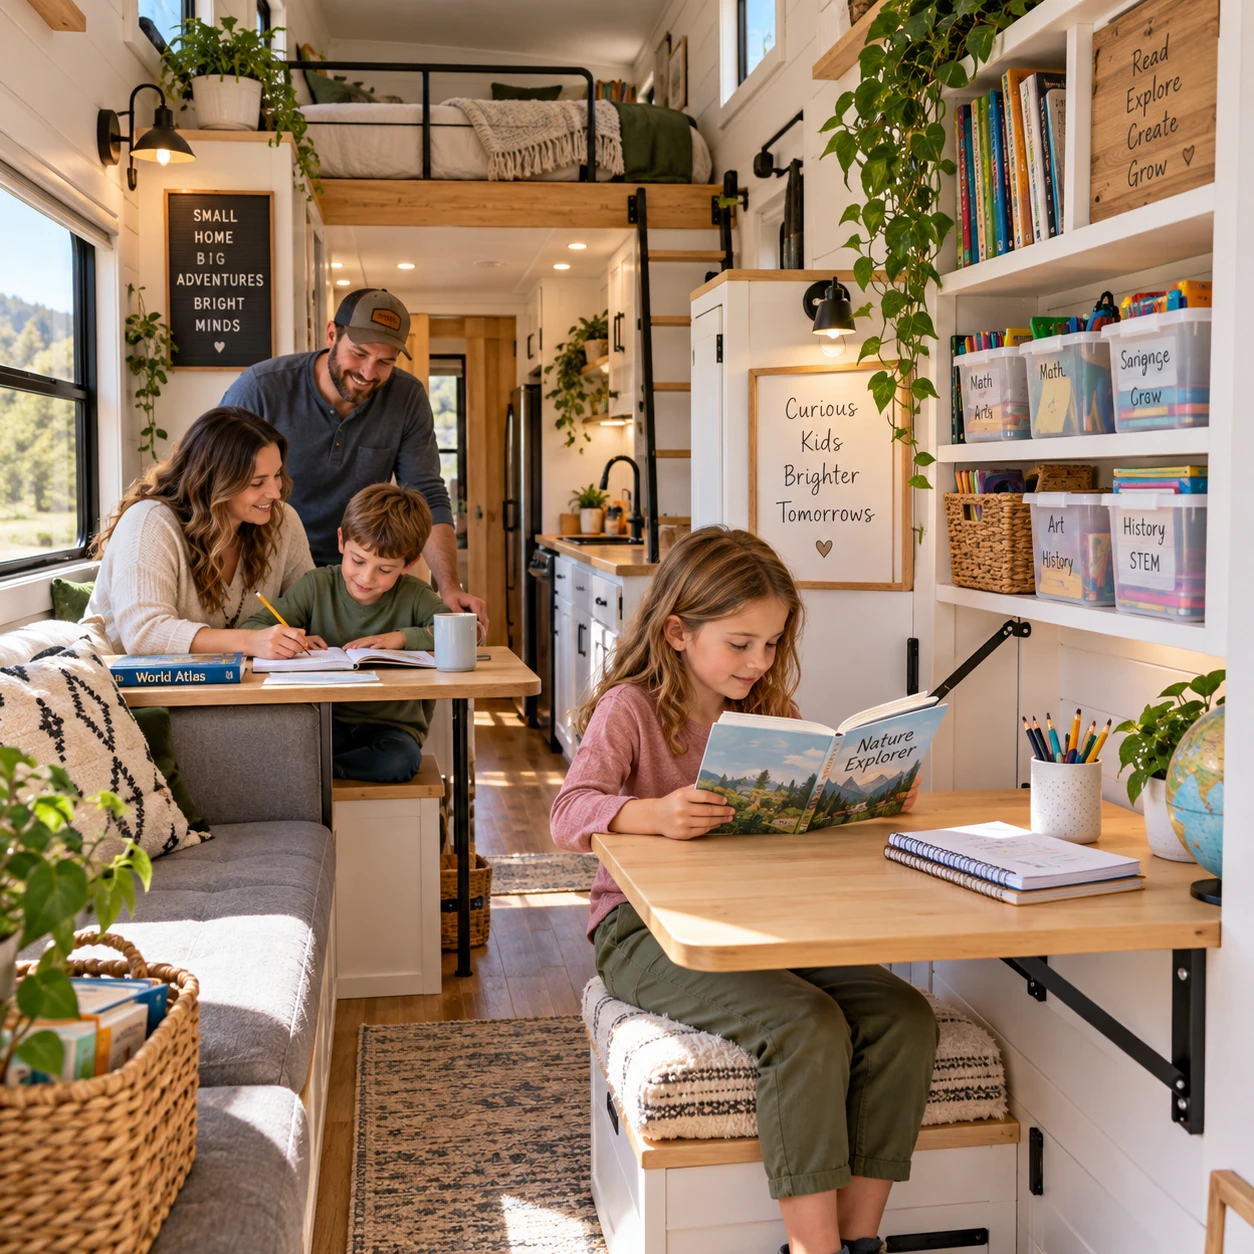
Homeschooling in a tiny home can work well without a spare bedroom or a permanent classroom. A flexible setup, easy-to-reset supplies, and routines that account for shared space can make room for focused lessons, active play, and family life.
The key is to organize around how your family actually learns and moves through the day. A kitchen table might become a writing desk in the morning, a craft station after lunch, and a dining area again by evening.
Start with your family’s learning needs
Start by matching your tiny home layout and homeschool setup to your children’s ages, learning needs, and daily routines. A younger child who learns through movement needs a different space from an older student who spends hours reading or working online.
Before buying furniture or storage, notice what your school day already requires. Which activities need a flat surface? When does each child need quiet? Do lessons happen together, one-on-one, or at different times? These answers help you avoid creating a polished but impractical learning area.
Make a simple list of your family’s regular learning activities, such as reading aloud, math practice, art, experiments, and computer work. Then identify the real requirements for each one: a table, natural light, room to spread out, or a place to store materials between sessions.
- For early learners: Keep a few hands-on activities within reach and leave open floor space for building, sorting, or movement.
- For independent readers: Set aside a comfortable seat, a small book basket, and a predictable quiet period.
- For teens: Plan for device charging, reliable internet access where available, and a surface for notebooks or a laptop.
Think in terms of needs, not a miniature version of a school classroom. In a compact home, a few well-chosen materials are often easier to use than a large collection that competes for space.
Create flexible learning zones
Flexible learning zones let children study without dedicating a whole room to school. Use a table, nook, counter, or outdoor spot for a specific activity, then clear or convert it when the lesson ends.
A learning zone is defined by what happens there, not by walls. A window seat can be a reading nook; a fold-down table can support writing or crafts; a shared dining table can serve as a work surface during designated lesson blocks. These arrangements work best when supplies have a nearby home and everyone knows how to reset the area.
Multi-use furniture can help, but it does not need to be custom-built. Try a folding table that stores behind a door, stackable stools, a lap desk, or a rolling cart that moves between work areas. Choose pieces you can set up and put away without turning every transition into a project.
For example, keep a small basket beside the table with pencils, a notebook, and the day’s workbook. When school begins, the basket marks the work zone. When lessons finish, return the materials to the basket and clear the table for lunch.
Different tiny homes have different constraints. A loft may offer a quiet corner but be unsuitable for younger children; an open-plan layout may make supervision easier but offer less privacy. Test a setup for a week before making permanent changes. Convenience and flexibility usually matter more than a dedicated classroom look.
Store supplies without creating clutter
Store homeschool supplies by activity and frequency of use so children can reach what they need and put it away quickly. In a tiny home, accessible storage and clear limits help keep books and materials from taking over shared areas.
Start with the materials you use most. Keep everyday pencils, paper, current books, and basic art supplies in a small bin or drawer near the main learning area. Put occasional-use items, such as specialty craft supplies or reference books, in a higher cupboard or under-bed container.
- Use a **portable caddy** for the day’s essentials, especially if lessons move between the table and a nook.
- Store books upright in a narrow shelf, crate, or basket, grouped by child or subject.
- Use labeled envelopes or slim folders for worksheets and ongoing projects.
- Keep a small “work in progress” tray so unfinished projects do not spread across the home.
- Choose stackable, lidded containers for supplies that need to stay out of sight.
Review materials at the end of each term or unit. Recycle completed worksheets when you no longer need them, pass along books your family has finished with, and keep only a manageable selection of open-ended materials. Digital resources may reduce paper storage, but they depend on devices, power, and internet access. Keep offline alternatives for days when technology is unavailable.
One common mistake is buying storage before sorting supplies. A new organizer can make unused materials look tidier without solving the underlying crowding. Decide what earns a place first, then choose a container that fits the remaining items.
Build a routine that fits tiny home life
A homeschool schedule works best in a tiny home when it gives the day structure without requiring everyone to use the same space at once. Use short lesson blocks, planned breaks, and clear expectations for shared areas rather than copying a rigid school timetable.
Try organizing the day around a few reliable anchors: breakfast, a first learning block, lunch, outdoor time, and a closing reset. The time between them can change with children’s ages, appointments, travel, or family energy. Younger children may manage better with brief activities and movement breaks; older students may prefer longer independent work periods.
Write down simple shared-space rules, such as when the table is reserved for lessons, where completed work goes, and what to do when someone needs quiet. A visible daily list can reduce repeated questions and help children move through tasks independently.
Plan transitions as part of the schedule. Allow a few minutes to bring out books, clear a surface, or switch from school to meals. In a small home, those resets are not wasted time; they are what make one area usable for several purposes.
A common pitfall is trying to keep every child quiet and seated for long stretches. That can create friction when the home has little separation between activities. Alternate focused work with reading aloud, movement, practical tasks, or independent play. Keep the plan steady enough to feel familiar, but flexible enough to respond when it is not working.
Use the outdoors and community as extensions of home
Outdoor learning and community spaces can add room, movement, and fresh subject matter to homeschooling in a tiny home. A park, library, garden, or local nature trail can serve as an occasional learning zone without adding storage or square footage.
Connect outings to the lessons already underway. Children can measure and sketch leaves for science, write observations in a field notebook, read signs and maps, or practice fractions while sharing a snack. A walk can also provide a needed break between indoor work blocks.
Public libraries offer more than books: many have study areas, children’s programs, computers, and quiet seating. Parks and community gardens create opportunities to observe weather, plants, insects, and seasonal change. Check local opening hours, accessibility, and any program rules before building an outing into your schedule.
Outdoor learning is not always practical. Weather, safety, mobility needs, travel time, and access to public spaces all matter. Keep a simple indoor backup, such as observing a houseplant, tracking the day’s weather from a window, or reading a nature book together. The goal is to extend learning, not make every lesson depend on leaving home.
Make room for focus, play, and family downtime
Children can focus in a shared tiny home when they know where to work, how to signal a need for quiet, and what the rest of the family should do during that time. Small, consistent cues often help more than trying to make the entire home silent.
Agree on a quiet-time signal, such as headphones, a door sign, or a particular seat that means “please wait unless it’s urgent.” Pair that signal with realistic expectations: a toddler may need supervision, and ordinary household sounds will continue. For online lessons or reading that demands concentration, schedule the work during the calmest part of the day when possible.
Protect time for play and downtime, too. A clear floor area, a small basket of toys, or a nearby outdoor spot can give children room to move after seated work. Set a simple transition routine: put away school materials, reset the table, and choose what happens next. This helps the home feel like a family home rather than a classroom that never closes.
Privacy may be limited, so make breaks available to adults as well as children. Rotate who uses the quietest spot, use headphones when appropriate, and avoid treating every interruption as a failure. A tiny home asks family members to share space closely; predictable routines and respectful signals make that arrangement easier to manage.
Homeschooling in a tiny home: common questions
Homeschooling in a tiny home does not require a spare room, specialized furniture, or a perfectly quiet day. A repeatable setup and a few household agreements can answer many practical concerns.
How do you create a homeschool area without a spare room?
Choose a shared surface or compact nook and assign it a clear purpose during set lesson times. Use a portable caddy or rolling cart for supplies, then put everything away when the area needs to serve another function.
How can children focus in a small shared space?
Give each child a predictable work spot, break assignments into manageable blocks, and agree on a quiet signal. Headphones can help with audio or background noise when suitable, but they do not replace supervision or a realistic routine.
What homeschool supplies are worth keeping in a tiny home?
Prioritize current curriculum materials, basic writing tools, a few versatile art supplies, and books or resources your children use regularly. Keep specialty items only when a planned activity needs them, and borrow or share less-used materials when that is practical.
How can outdoor learning complement lessons at home?
Use outdoor time to observe, measure, draw, read, and move. A neighborhood walk can support science and writing, while a library visit can provide books, programs, and a change of setting. Keep an indoor alternative for poor weather or days when going out is not feasible.